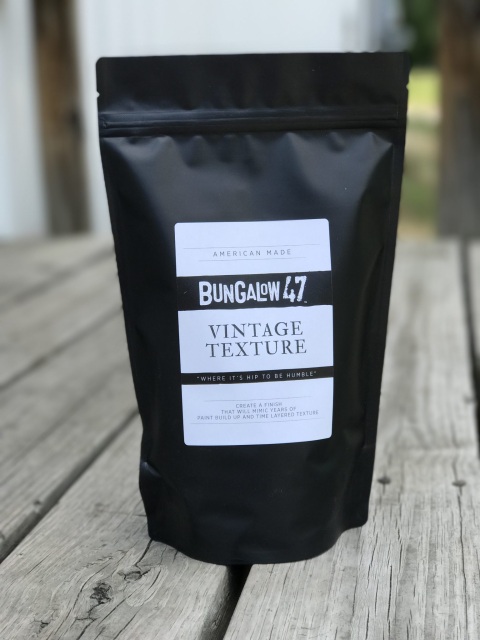
- Bungalow 47 Paint
- >
- Vintage Texture
Vintage Texture
Directions for use:
Step 1 – Using the included scoop, add powder to paint. Two scoops per 8 oz. of paint will provide proper consistency. Increase or decrease amount to your preference. Mixture should be a consistency between cake batter and a thick frosting.
Step 2 – Apply mixture with brush, using a pouncing motion, creating peaks. Try applying in a variety of thicknesses. This will create more of an authentic crusted look. Allow to dry slightly, but not completely. Once most top areas are dry, use a rubber spatula or spackle knife to knock down and flatten the peaks, creating a textured look.
Step 3 – Once you have achieved your desired textured look, let it completely dry. Once dry, apply another coat of paint without texture added, in the same or different color. Experiment with a variety of looks and have fun with it! When all layers of paint have dried, distress using a medium to fine grit sandpaper to highlight the texture and reveal the layer(s) of color.
Step 4 – Buff with a clean, dry towel and seal using Junk Gypsy Clear Coat, if desired.
Style Tips:
– Try adding black or white to lighten or darken your paint color to create monochromatic shades for subtle layering.
– For a more bold ‘painted over time’ look, vary layers of color with brights and neutrals to create a crusted authentic look.
– Add vintage texture in strategic spots on your piece, instead of covering the entire surface, to highlight corners and a few areas.
– Further enhance your layers by using another color that has been thinned to create a wash. Wipe away excess.


